It's Saturday morning, the backyard is wide open, and your dog is giving you that look that says, "So what are we doing today?" You don't need a club or a regulation ring to get started. With a couple of broomsticks, a cardboard box, and ten minutes of imagination, you can set up your first agility course before your coffee even kicks in. That's almost always how it begins: at home, with whatever's lying around and zero pressure.
In this guide we'll walk through the agility obstacles one by one, and then I'll show you how to build an agility course at home that your dog can enjoy safely. You don't need to spend a fortune or own acreage. Just a little drive, a bit of space, and the patience to take it slow.
What are agility obstacles and what are they for?
Agility is a sport where your dog runs a sequence of obstacles on your cues, in a set order and, in competition, against the clock. But before speed comes the part that matters most: each obstacle builds a different skill and strengthens the communication between you and your dog.
The obstacles fall into three big families, and it's worth knowing them because not all of them are right for getting started at home:
- Jumps: bar jumps, the long jump, the tire jump. These build drive and body awareness.
- Tunnels: the open (rigid) tunnel and the old collapsed tunnel, or chute, which the FCI pulled from competition years ago for safety reasons. They teach your dog to enter enclosed spaces with confidence.
- Contact obstacles and others: the dog walk, the seesaw (teeter), the A-frame, and the weave poles. These demand balance, precision, and plenty of control.
The golden rule at home: start with low jumps, tunnels, and weaves only. Contact obstacles (teeter, dog walk, A-frame) involve height, balance, and technique that are best learned with a pro. At home, save them for later or run a flat, ground-level version.
Types of agility obstacles, one by one
Let's take a closer look so you know what each one does and which ones you can recreate at home.
Jumps: the heart of agility
The bar jump is the most recognizable obstacle and the easiest to improvise: two uprights on the sides and a horizontal bar your dog clears without knocking it off. You set the height to your dog's size, and when you're starting out, the bar sits almost on the ground.
The jump family also includes the long jump (a row of low platforms your dog clears in a single effort, covering distance instead of height) and the tire jump, a hoop suspended inside a frame that your dog has to leap through.
Never set the bar at a height your dog has to strain for. A young dog with open growth plates shouldn't be jumping high: repeated impact damages joints that are still forming. Small breeds usually close them between 6 and 12 months, medium breeds between 12 and 15, and large breeds can take up to 24. When in doubt, drop the bar to the ground and check with your vet.
The tunnel: confidence at full speed
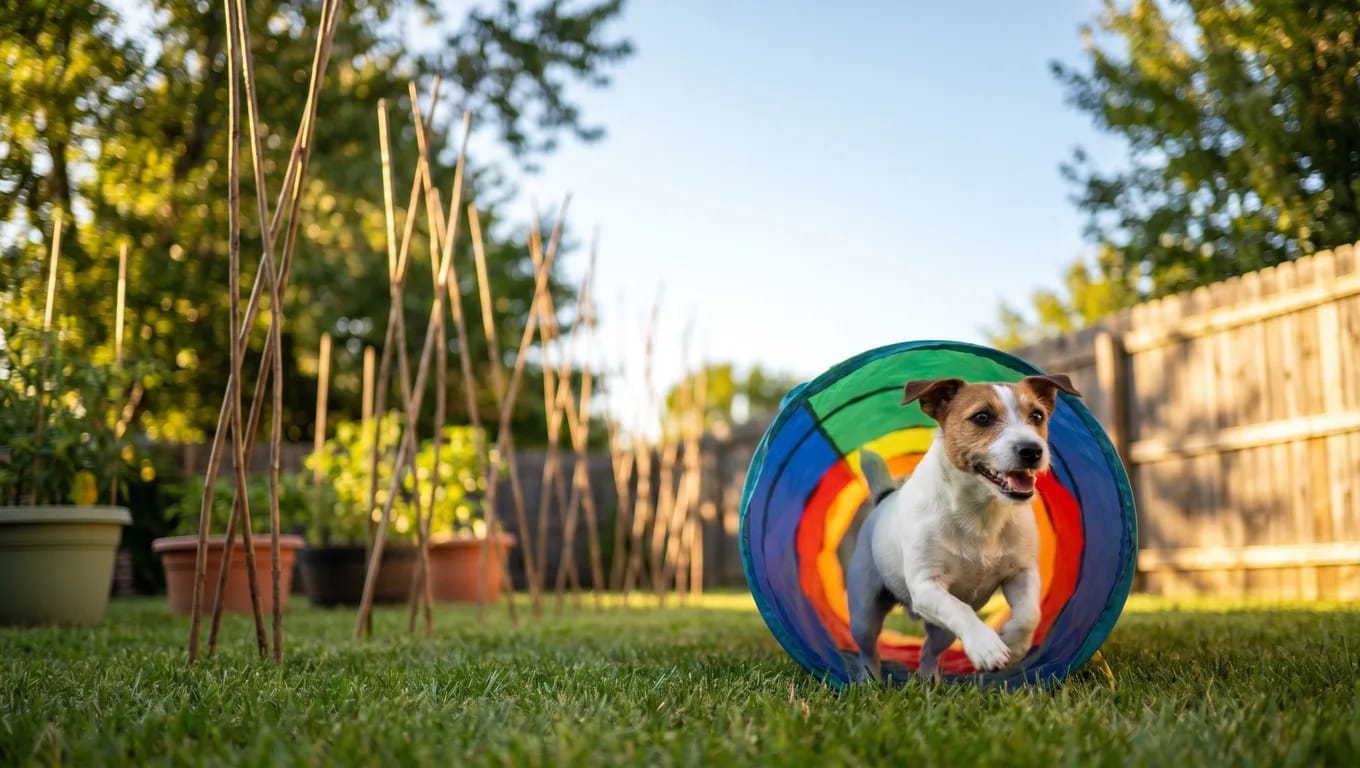
The tunnel is a flexible tube, usually curved, that your dog runs through from one end to the other. It's a crowd favorite: most dogs love it the moment they get over any nerves, and it's incredibly easy to recreate at home.
Weave poles: the most technical (and addictive) obstacle
The weave poles are that line of upright poles (12 in competition) your dog zigzags through, always entering with the first pole at their left shoulder. It's the hardest obstacle to learn because it goes against a dog's instinct to take the straight line, but it's also one of the most impressive to watch once it flows. At home you can start with 4 to 6 poles spaced well apart.
Contact obstacles: precision and balance
This group includes the A-frame (two ramps that meet at a peak), the dog walk (a narrow, raised plank bridge), and the seesaw (a board that tips once your dog passes the center point). They're called "contact" obstacles because your dog has to touch the painted zones on the way up and down.
They're spectacular, but they also command the most respect because of their height and the balance they require. Don't improvise these at full height at home.
Quick comparison: which obstacles can you build at home?
| Obstacle | Skill it builds | Good for starting at home? |
|---|---|---|
| Bar jump (low) | Drive and control | Yes, with the bar very low |
| Tunnel | Confidence, speed | Yes, perfect for starting |
| Weave poles | Coordination, zigzag | Yes, with a few poles spaced out |
| Long jump | Distance | Yes, platforms at ground level |
| Tire jump | Precision through the hoop | With care and at low height |
| A-frame / dog walk | Balance at height | Better with a pro |
| Seesaw | Balance, confidence | Better with a pro |
How to make DIY agility obstacles
Here's the fun part. You don't need to buy a thing to get started: most DIY agility obstacles come from stuff you already have in the garage. The goal isn't to copy competition gear but to build safe versions so your dog learns the concept.
DIY jump
The simplest setup in the world: two buckets, two flower pots, or two stacks of books, with a bamboo cane, a broomstick, or a length of lightweight PVC resting on top. For an improvised long jump, line up two or three flat boards or firm cushions at ground level and let your dog clear them in a single stride.
Key safety point: the bar should always fall with a gentle bump. Just rest it in place; never fix or glue it down. If your dog touches it, it needs to roll to the ground without catching. A fixed bar is an open invitation to injury.
DIY tunnel
You've got a few options depending on what you find around the house:
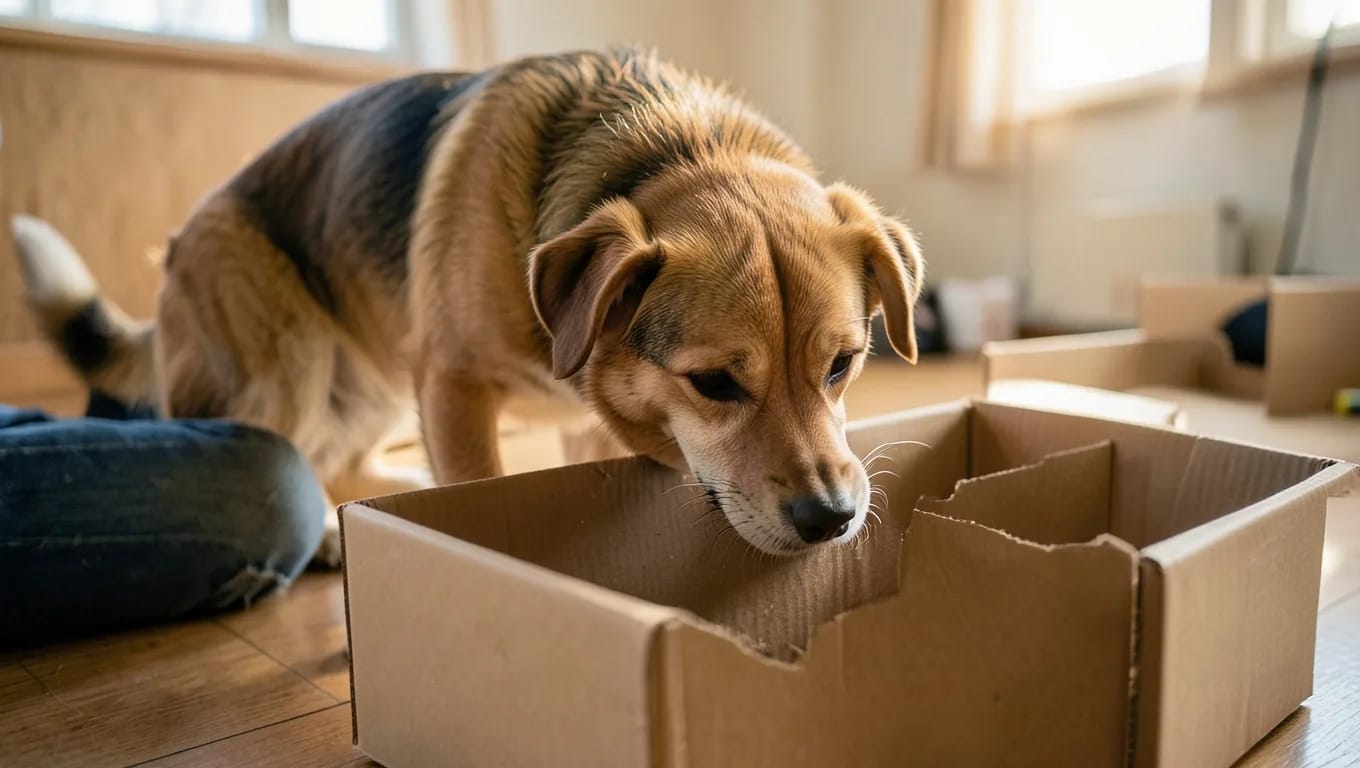
- Large cardboard boxes with the ends cut out, joined in a row to form a hallway.
- A collapsible kids' play tunnel (the fabric ones with hoops), which work beautifully and cost next to nothing.
- A table with a blanket draped over it for the first few days: your dog learns to go "under something" without feeling boxed in.
DIY weaves
Plant 4 to 6 poles in the ground (or in pots filled with soil): tomato stakes, broomsticks, or PVC pipe. Space them well apart, about 20 to 24 inches, much wider than in competition. At first we're not after a perfect zigzag, just getting your dog to move between them while following you.
How to build your first agility course at home
You've got the pieces. Now let's arrange them into an agility course for dogs that makes sense and, above all, is safe. Follow these steps in order.
1Pick and prep the space
Look for a surface that's flat, level, and non-slip. Grass or firm dirt is ideal because it cushions the joints. Avoid tile, wet ground, or anywhere with rocks. Clear away pots, hoses, and anything your dog might crash into when they take off.
You need less space than you'd think: 20 to 25 feet of length is plenty to set three or four obstacles in a row.
2Space the obstacles out
The most common mistake is cramming everything together. Your dog needs room to build speed and recover between one obstacle and the next, so leave at least 10 to 13 feet between each one while they're learning. A tight course leads to crashes and frustration.
3Design a simple route
When you're starting out, skip the impossible curves. A straight line or a gentle "L" shape is perfect. A solid first combination:
- Tunnel (easy and motivating, it hooks your dog right away).
- Low jump a few feet from the tunnel exit.
- 4-pole weave to finish.
Always start and end with something your dog has down cold, so the session wraps up on a win and a good note.
4Introduce each obstacle on its own
Don't set up the whole course on day one and expect your dog to run it. Work one obstacle at a time, with treats and a happy voice, until they're doing it with ease. Then link two, then three. Rushing is enemy number one in agility.
5Keep sessions short and always positive
Five or ten minutes is plenty. A dog that finishes wanting more comes back to the next session fired up; a dog that's worn out or scolded sours on the whole game. Reward the effort, not just the perfect run, and stop while they're still having a blast.
Always watch for signs of fatigue or overexertion: heavy panting, lying down, avoiding an obstacle they used to do. Agility at home is a game, not high-performance training. Warm up with an easy walk beforehand and let your dog cool down after.
Common mistakes when building a course at home
These are the slip-ups that come up most often when you're starting out:
- Jumps too high too soon. Height comes on its own; start at the ground.
- Obstacles too close together. Without spacing there's no running room and no control.
- Sessions that run long. Less is more: consistency beats intensity.
- Fixed bars or rigid materials. Anything that can catch or won't give on impact has to go.
- Forcing the weaves. It's the slowest obstacle to learn, so be patient or leave it for class.
When to take the leap to an agility class
The home course is a fantastic starting point for building a bond and finding out whether your dog is all in. But there comes a point when you'll want more: regulation obstacles, contact equipment taught properly, and above all an instructor to fine-tune your handling, which is half of agility. When you are ready to buy proper gear instead of improvising, our guide to choosing dog agility equipment covers what to look for, what it costs, and the official standards. A good class saves you months of trial and error and helps prevent injuries. Home and the club don't compete; they complement each other.
Once your dog is loving the home course and you're ready to take the next step with regulation equipment and someone to fine-tune your handling, Canlyo helps you find and book a class with a qualified trainer near you. It's the most direct way to go from the backyard to a real course.
Set up your first jump this very afternoon, call your dog over, and watch that spark when they figure out the game. The rest (the height, the speed, the contacts) will come in its own time, step by step, at the pace the two of you set.